

Table of contents


No headings in the article.
Nest.Js is a progressive Node.Js framework used for building efficient, reliable, and scalable server-side applications. Nest.js- under the hood provides an abstraction for the Express/Fastify frameworks, providing you with an architecture you wouldn't find in the express framework. Nest.Js is not to be confused with Next.Js which is a frontend react framework for production. If you are interested in learning how to set up a Next.Js project you can read this article here.
Let's get you started..
So you've finally decided to go with nest.js and you intend to set up your first project, in order to do that here's what you need:
Node.js latest version
Nest.Js CLI
To install the Nest.js CLI use this command:
$ npm i -g @nestjs/cli
Once you have installed the above requirements, you now have the opportunity to use the Nest.Js CLI, with this you can scaffold a new Nest.Js project with just a single command Nest new [New project name].
Here's how to do it.
Step 1
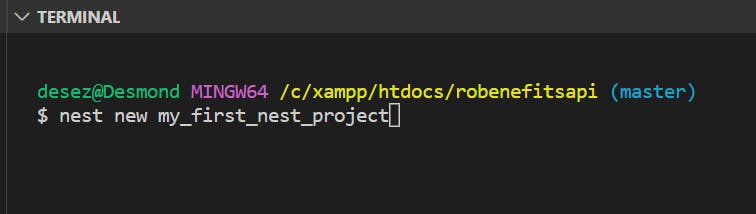
Open your terminal in the directory you want your project to be stored in. For example, the screenshot below shows mine open in a directory named " learn_nestjs_with_apis ".

Step 2
Type the following command into your terminal
Nest new [New project name] replace [New project name] with the name of your new project like the screenshot below:
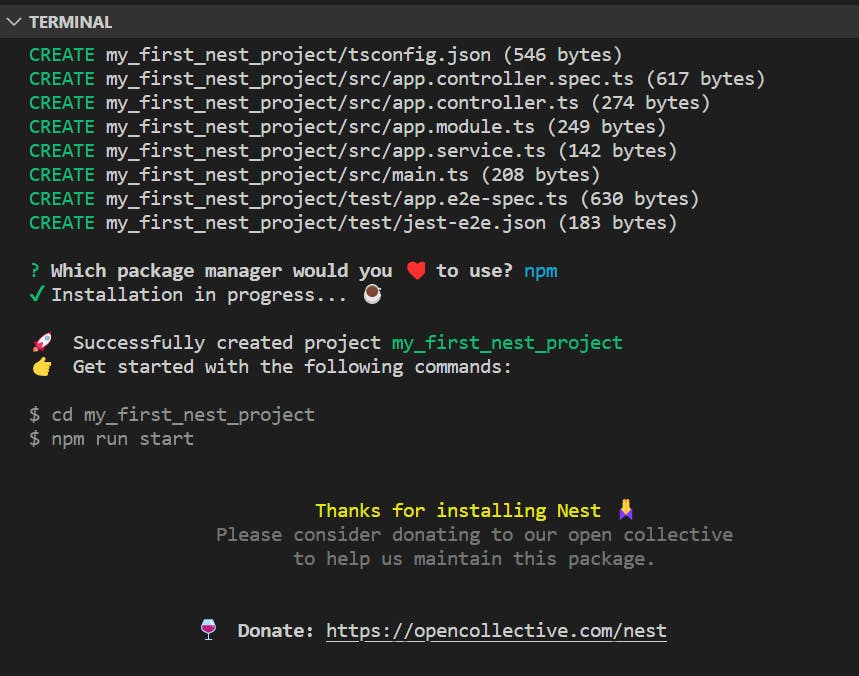
Step 3
Pick your preferred package manager. I'd pick NPM for this article, as seen in the screenshot below.
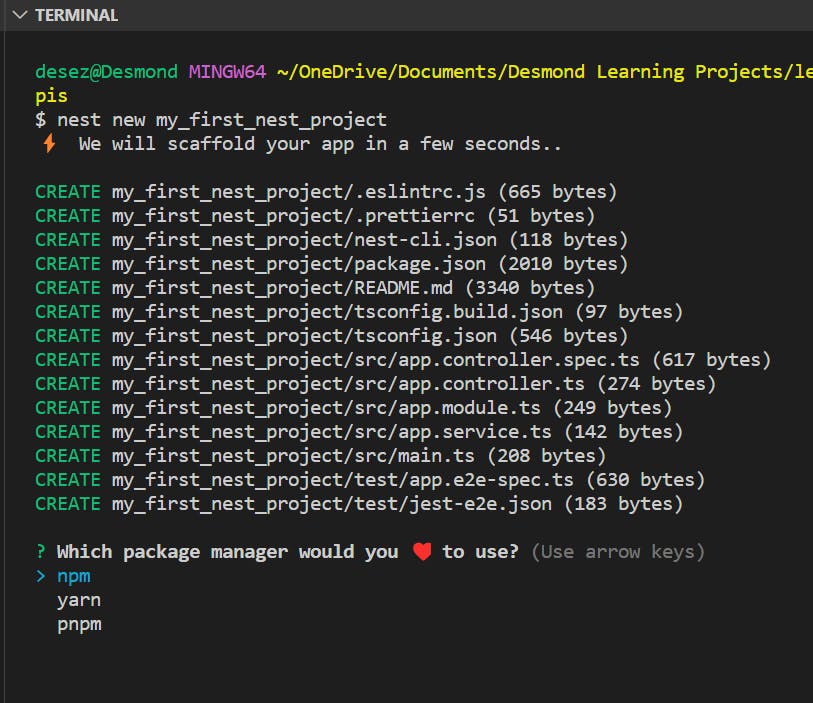
allow packages to install
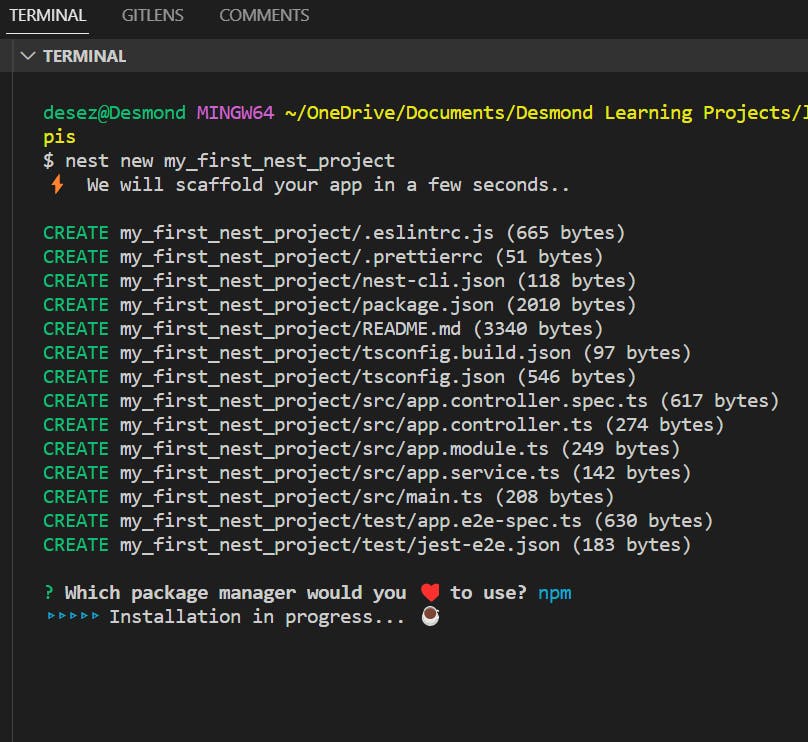
once that is done you should see this in your terminal
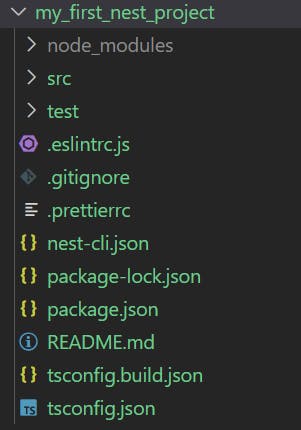
One last thing! You need to verify your folder structure to ensure the installation was correct, take a look at the folder structure below, that's what yours should look like.
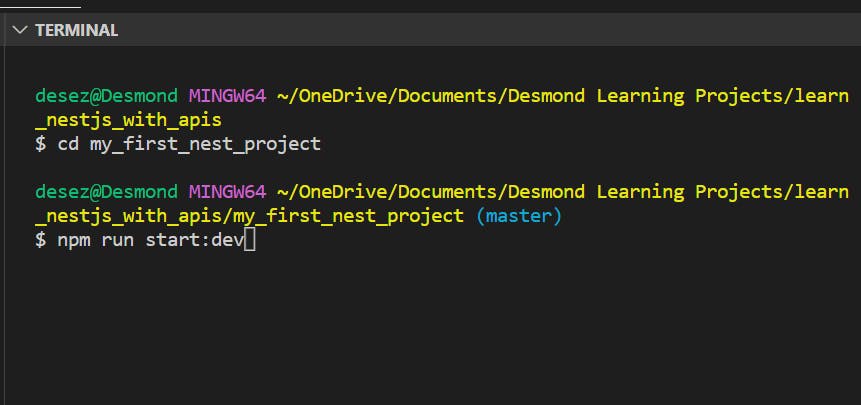
Then finally you can start your project by running this command
npm run start:dev
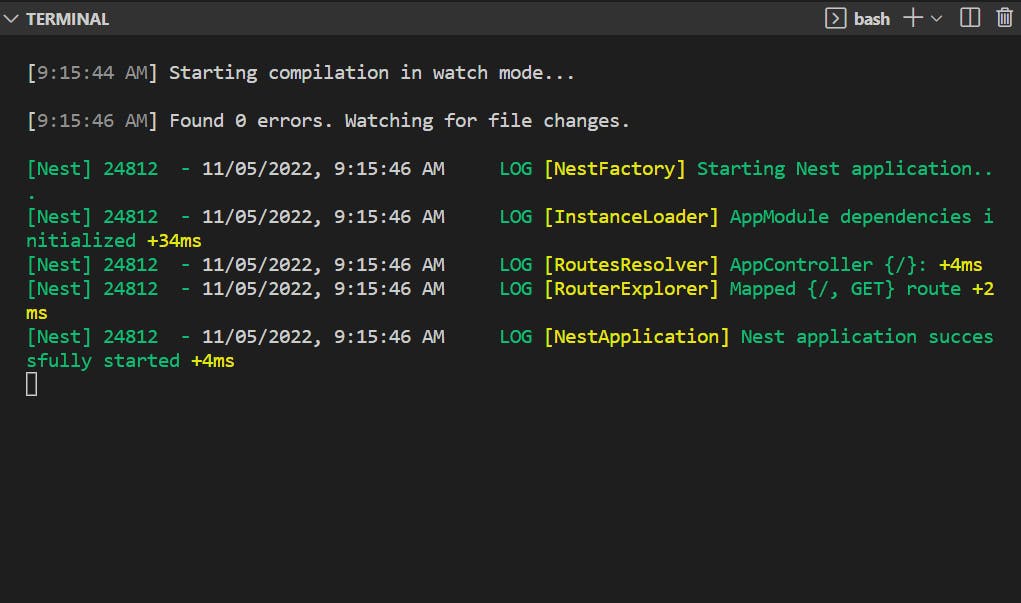
Congratulations! you've successfully set up your first Nest.js project!
Thank you for reading, please do follow for more articles